React Router
In this tutorial, we would learn how to set up routing for our app. React router makes transitions between pages in react smooth and without reloading. It makes a multi-component app feel like a single-page app
Installing React router
To get started with react-router, you will need a react app. The recommended way is to install using the command: ‘npx create-react-app <nameofapp>’
Run the following command in the directory of your app:
PS C:\Users\HP\react\react-project\> npm install react-router-dom
Using React router
In this example, we want to navigate through three pages, Home, About, and Products. As you click on the different <Link> s the router directs to the matching <Route>.
Now we render a <nav> element with list items containing the links.
import React from "react";
import {
  BrowserRouter as Router,
  Route,
  Switch,
  Link,
} from "react-router-dom";

 const App = () => {
  return (
    <div>
      <Router>
        <div>
          <nav>
            <ul>
              <li>
                <Link to="/">Home</Link>
              </li>
              <li>
                <Link to="/about">About</Link>
              </li>
              <li>
                <Link to="/products">Products</Link>
              </li>
            </ul>
          </nav>
        </div>

        <Switch>
          <Route path="/about">
            <About />
          </Route>
          <Route path="/products">
            <Products />
          </Route>
          <Route path="/">
            <Home />
          </Route>
        </Switch>
      </Router>
    </div>
  );
};
function Home() {
  return <h2>Home</h2>;
}
function About() {
  return <h2>About</h2>;
}
function Products() {
  return <h2>Product list</h2>;
}
export default App
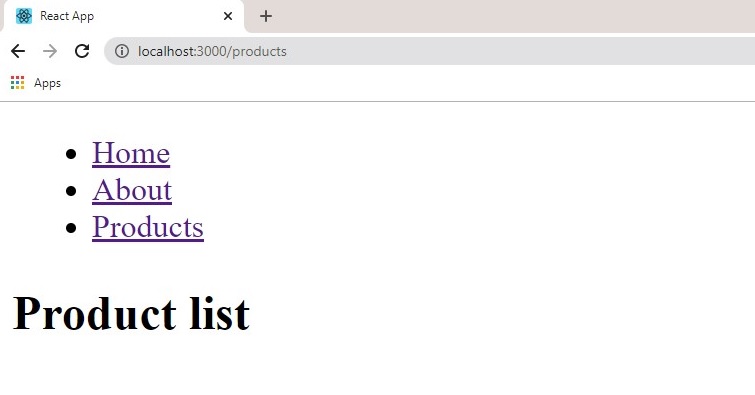
In the example above, we defined the App component and rendered a bunch of navigation links, using the Router just defined we assigned a path attribute to each <Route> with the corresponding url and also created a <Link> component that directs us to the URL when click, behind the scenes a <a href is also triggered that makes screen readers and keyboard navigation possible. The <Switch> component works like an if-else loop that checks each route and renders the first matching route. Your page should resemble this:

When we click on each link the matching route is then rendered on the screen.

